
Home » Services » Email Hosting » Transition Instructions
How to Set Up Email Hosting with Greatmail: A Step-by-Step Guide
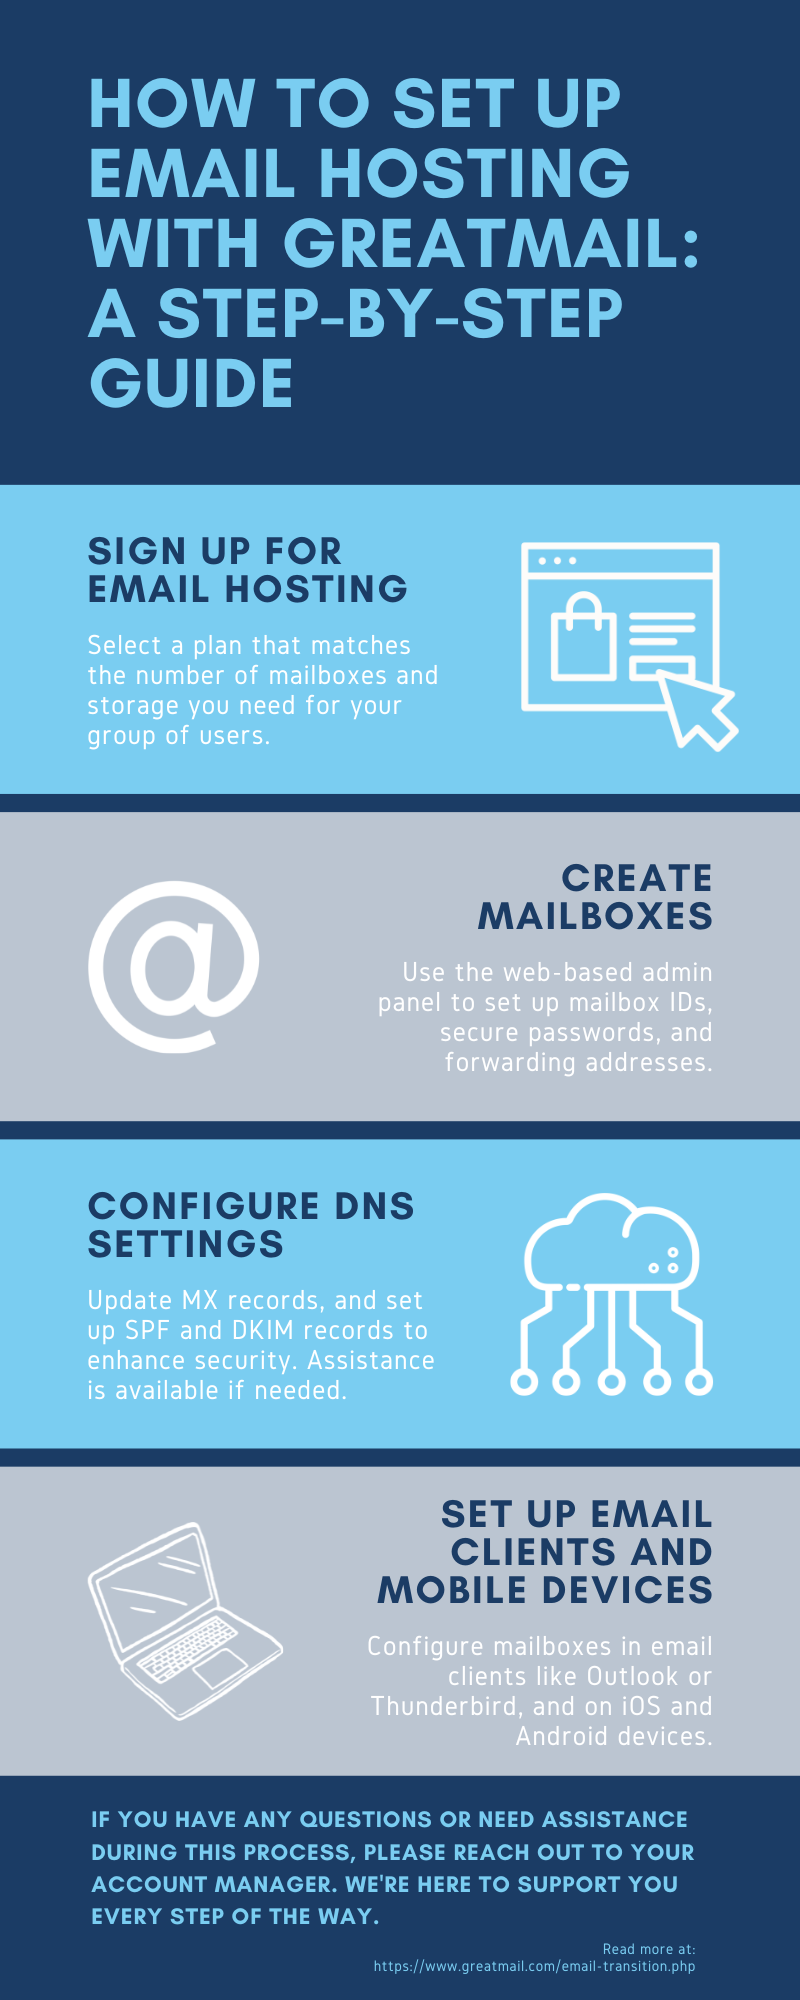
Sign Up for Email Hosting
Select a plan that matches the number of mailboxes and storage you need for your group of users.
Create Mailboxes
Use the web-based admin panel to set up mailbox IDs, secure passwords, and forwarding addresses.
Configure DNS Settings
Update MX records, and set up SPF and DKIM records to enhance security. Assistance is available if needed.
Set Up Email Clients and Mobile Devices
Configure mailboxes in email clients like Outlook or Thunderbird, and on iOS and Android devices.
Migrate Existing Emails (Optional)
Transfer emails from your previous provider to Greatmail using the IMAPSync tool.
Conclusion
Ensuring that all your mailboxes are properly configured on Greatmail before updating your DNS MX records is crucial to prevent any loss of incoming emails. Even if your email clients aren't yet set up to access both the old and new servers, having the mailboxes active on Greatmail ensures they can receive messages immediately after the DNS change. To minimize potential disruptions, consider lowering the Time-To-Live (TTL) value of your current MX records well in advance of the migration; this practice reduces DNS caching issues during the transition. If you have any concerns or need assistance during this process, please reach out to your account manager. We're here to support you every step of the way.


